
Integrating Stripe in Swift for iOS development
Stripe is payment gateway that can be integrated with any website and mobile apps. In this tutorial we will see a quick and simple integration of Stripe in Swift for iOS development using Stripe documentation for iOS.
This hands on tutorial will help you to familiarise yourself in
-
Validating and creating token using Stripe IOS SDK
-
Installing third party library using Cocoa-pods (Stripe)
-
Calling Objective-C framework in Swift (Objective-C Bridging Headers settings)
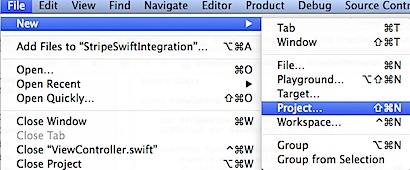
Click File menu and select New -> Project
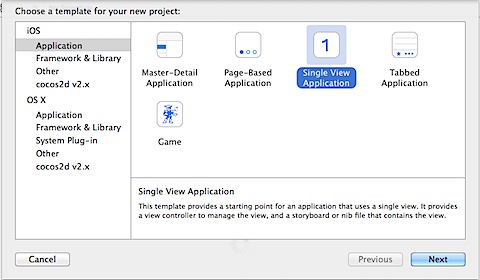
Select Single View Application as the template for the project.
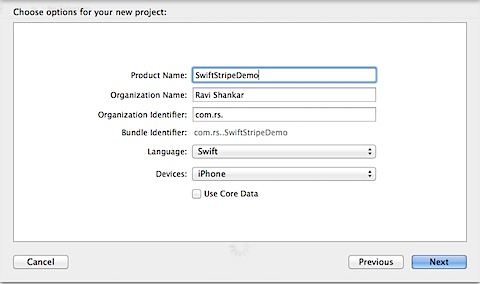
Provide a name for your project and select the language as Swift.
Now close the project in Xcode and launch terminal window.
Setup Stripe using Cocoa-pods
Run the following commands on your terminal window to install Stripe.
sudo gem install cocoapods
pod init
Edit Podfile under project directory and add pod ‘Stripe’ then execute the below command in Terminal window.
pod install
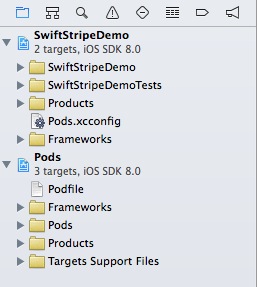
Navigate to the project folder and launch the file with extension as workspace. Now you should see the Stripe frameworks included under Pods directory along with your default project files.
Write code to integrate Stripe
Edit ViewController.swift and add the following IBOutlet variable for the button.
@IBOutlet var saveButton: UIButton!
Now add the following variable declaration to ViewController.swift file to hold the instance of STPView class.
var stripeView: STPView = STPView()
Since the Stripe framework has been written in Objective-C, we need to make sure to add the implementation file as part of the Objective-C bridging Headers under Build Settings.
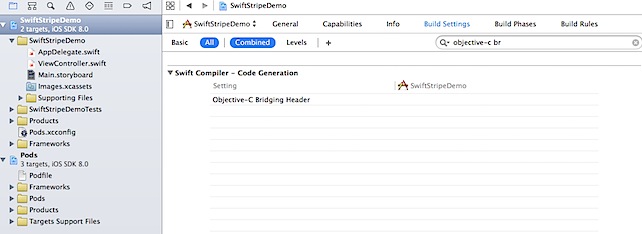
Select Project folder and navigate to Build Settings. Then use the search field to locate to Objective-C Bridging Header setting.
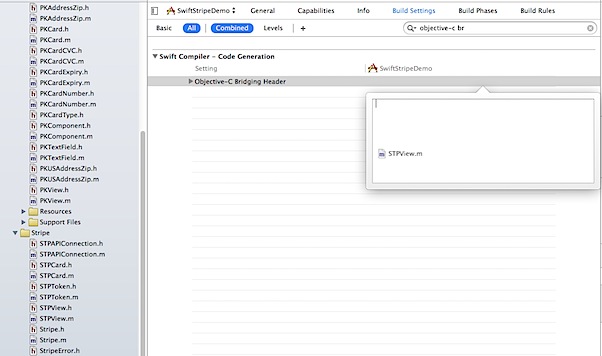
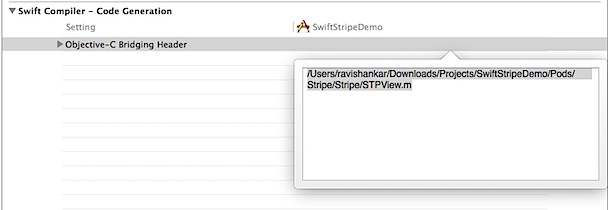
Then drag and drop the STPView.m file to Object-C Bridging Header section.
Update the viewDidLoad function and add the following Stripe integration code. Make sure the ViewController class conforms to STPViewDelegate protocol
class ViewController: UIViewController, STPViewDelegate {
    override func viewDidLoad() {
        super.viewDidLoad()
        stripeView = STPView(frame: CGRectMake(15, 20, 290, 55), andKey: )
        stripeView.delegate = self
        view.addSubview(stripeView)
        saveButton.enabled = false
    }
}

func stripeView(view: STPView!, withCard card: PKCard!, isValid valid: Bool) {
    if (valid) {
        saveButton.enabled = true
    } else {
        saveButton.enabled = false
    }
}

@IBAction func saveButton(sender: AnyObject) {
    stripeView.createToken { (stpToken, error) -> Void in
        if (error != nil) {
            print(error)
        } else {
            print(stpToken)
        }
    }
}
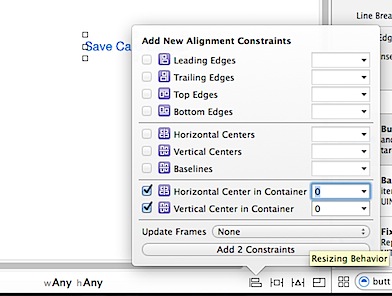
Navigate to Main.storyboard and add UIButton from object library to ViewController. Centre align the button both horizontally and vertically to the View Controller.
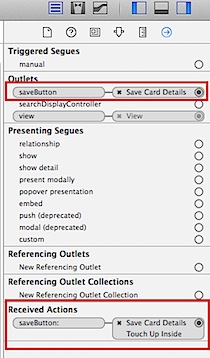
Then use Connection Inspector to connect the button to IBOutlet variable and saveButton function to Tap Up Inside event of the button.
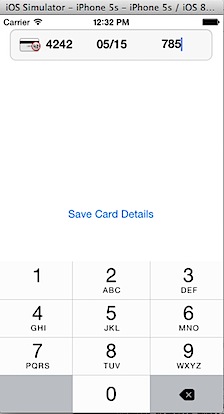
Now build and run the project on simulator and you can use dummy card number 4242 4242 4242 4242 to test your implementation. For more details refer to Stripe Testing Documentation.
Sample Output
Successful token - tok_14YBF42eZvKYlo2CoZtuO3Md (test mode)

Error message - Error Domain=NSURLErrorDomain Code=-1009 "The Internet connection appears to be offline." UserInfo=0x7f9b7147b4a0 {NSUnderlyingError=0x7f9b71786ca0 "The Internet connection appears to be offline.", NSErrorFailingURLStringKey=https://pk_test_6pRNASCoBOKtIshFeQd4XMUh:@api.stripe.com/v1/tokens, NSErrorFailingURLKey=https://pk_test_6pRNASCoBOKtIshFeQd4XMUh:@api.stripe.com/v1/tokens, _kCFStreamErrorDomainKey=12, _kCFStreamErrorCodeKey=8, NSLocalizedDescription=The Internet connection appears to be offline.}
Download Demo Project from GitHub
Need iOS Help?
I help developers with:
- Bug fixes & debugging
- App Store rejections
- Code review & mentoring
- Claude Code training for iOS
10+ years iOS • 10+ published apps • 11,000+ students trained